The plugin also provides placeholders for other plugins, in our setup they are:
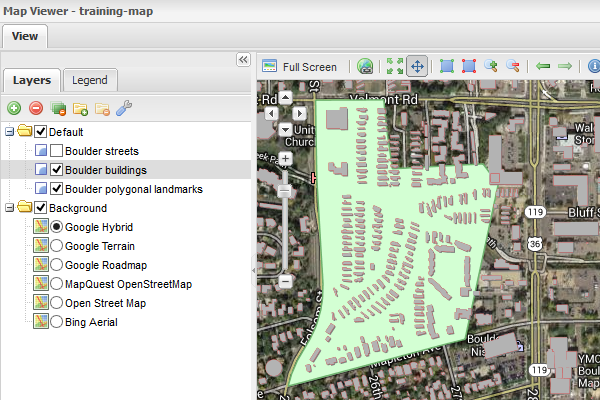
Open the previously created map training-map
Zoom in  until you can see at least the Boulder streets
As you can see the streets are over the polygonal landmarks
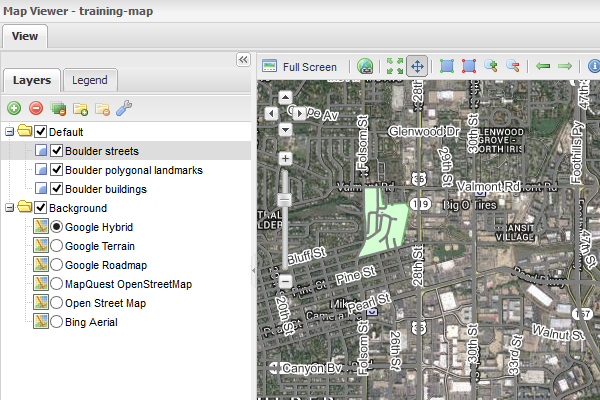
You can see both the landmarks and the streets.
Disable the Boulder streets checkbox clicking on it
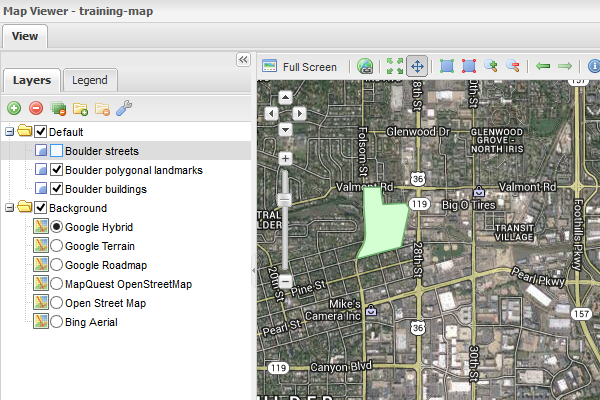
Streets are no longer visible.
Zoom in again until you can see at the Boulder buildings
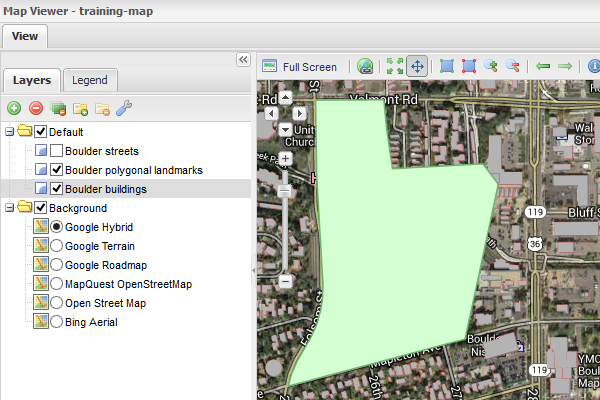
The green Landmarks are over the grey Buildings.
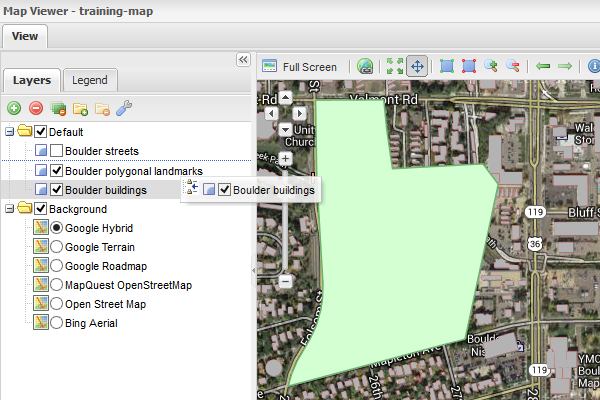
A little icon informs you where are you going to drop the layer.
Releasing the layer changes the visibility order, so now you can see the Buildings other the Landmarks
Buildings are now visible other the Landmarks.
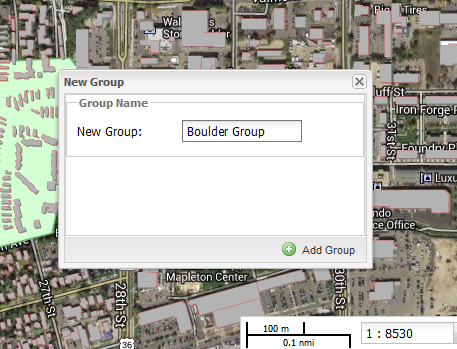
To create a new layer group:
Click on the  Add a new group in the layer tree button
Write the group name (in our case is Boulder Group)
Click on the  Add group button
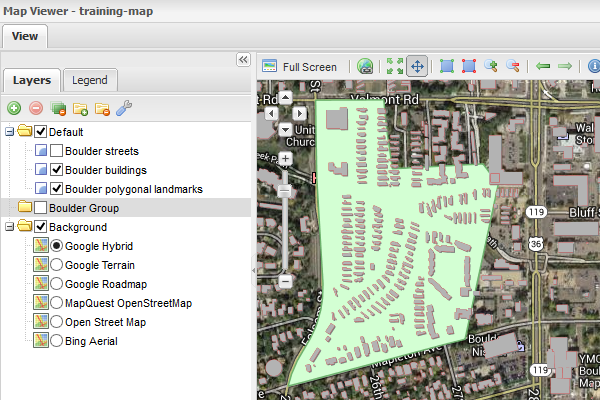
An empty group is now visible in the layer tree.
Drag the layers Boulder polygonal landmarks and Boulder buildings over the new group to add them to it
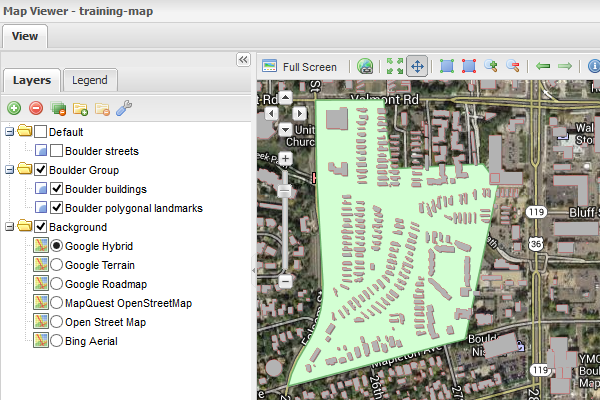
The layers are now grouped.
When layers are grouped they can be enabled or disabled together
The group can also be collapsed
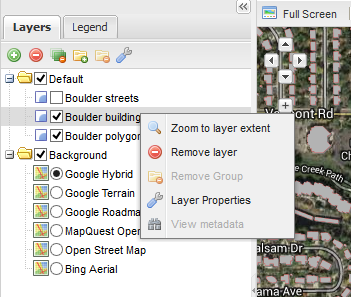
Right-clicking on a layer shows up the contextual menu with available actions.
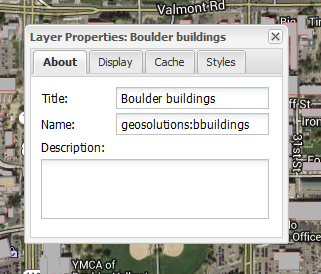
The About tab shows the layer name, the title displayed in the layertree and the description