The MapComposer component provide a GUI tool that allows the User to import/export data (currently supported import / export of Map context and kml / kmz files).
Warning
The ImportExport tools requires the ServiceBox application deployed in your servlet container. ServiceBox is basically a backend support that provide import/export functionalities through ‘ad hoc’ Java Servlets. When you have deployed the ServiceBox backend component, you can enable the ImportExport plugin in MapStore simply adding the related plugin configurationig (further information will be provided in later sections of this training).
Open the MapManager and login as Admin User as described in Using the MapManager section.
Now open the recently created training-map.
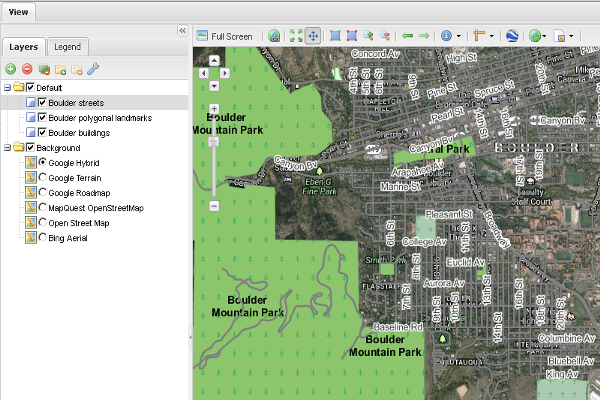
The Training Map.
Click on the ImportExport Action Tool inside the main toolbar located in the top side of the Map panel. Then select on Export Map.
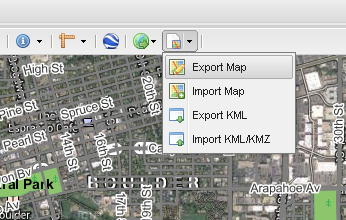
Export a Map context.
In the export dialog, click on Export Map and then click OK in order to save locally the context.map file.
Note
The context.map file contains the Map context. This means:
- Added WMS Sources
- Added Layers
- Zoom Extent
- etc ...
at the time when the context has been saved.
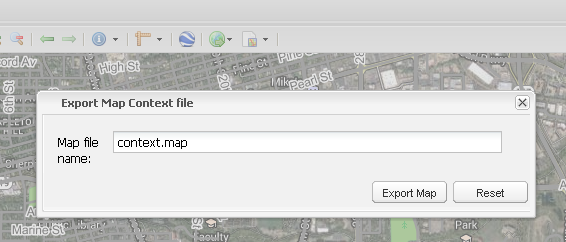
Export a Map context.
After saving the context.map file locally, open an empty MapComposer.
This time click on the ImportExport Action Tool and select Import Map. In the import dialog enter the path of the saved context.map and click import.
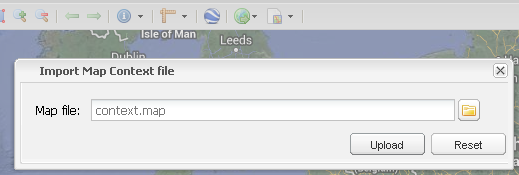
Import a Map context.
The saved Map context is loaded and then you can continue working on your Map.
Imported Map context.
The import/export tool can manages KML/KMZ files to. The KML/KMZ files are imported from the related file into an OpenLayers Vector layer. Vice versa the OpenLayers vector layer from the TOC will be exporten into a KML file.
Warning
The export functionality only produces KML files.
Click on the ImportExport Action Tool inside the main toolbar located in the top side of the Map panel. Then select Import KML/KMZ.
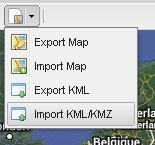
KML/KMZ Import/Export tool.
Inside the import dialog enter the path of the file (KML or KMZ) and the name of the Vector layer. Then click on Upload:
KML/KMZ file: %TRAINING_HOME%/data/mapstore/bbuildings.kmz
Layer Name: bbuildings
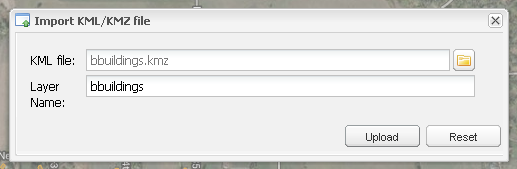
Import a KMZ.
Use the MapStore GeoCoder, located in the top side of the Map panel, in order to zoom to the KMZ data extent. Enter Boulder nebo rd:
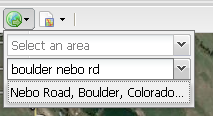
Zoom to the KMZ with MapStore GeoCoder.
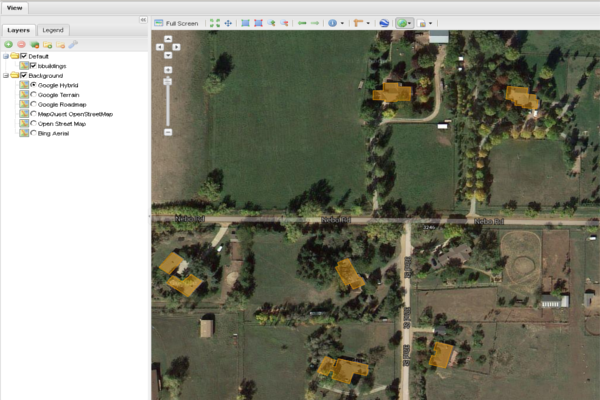
Boulder Buildings KMZ Vector layer.
Please select the previously imported bbuildings vector layer inside the TOC:
This time click on the ImportExport Action Tool and select Export KML. In the import dialog enter the name of the KML file to export (by default export.kml).
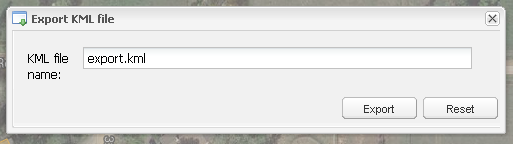
KML Export.
Open the newly KML file on Google Earth:
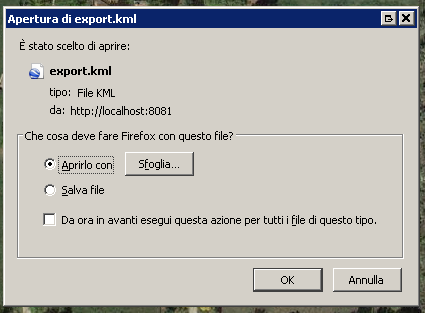
The bbuilding KML file.
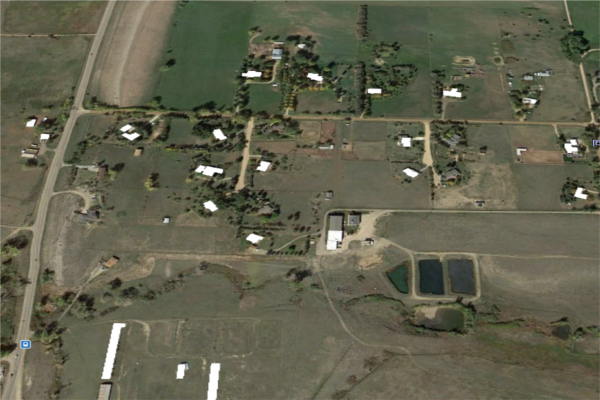
The bbuilding KML file on GEarth.