This section illustrates how you can use the MapManager.
MapManager, using a single interface, allow the user to create, delete and search maps, generate an embed link to put a Map in a web site, share your own maps with other users. This is performed interacting with GeoStore. MapManager supports both authentication and definition of access policies to protect maps managed by GeoStore.
Resources (maps created by users) are displayed in a grid that describes content by using the following attributes:
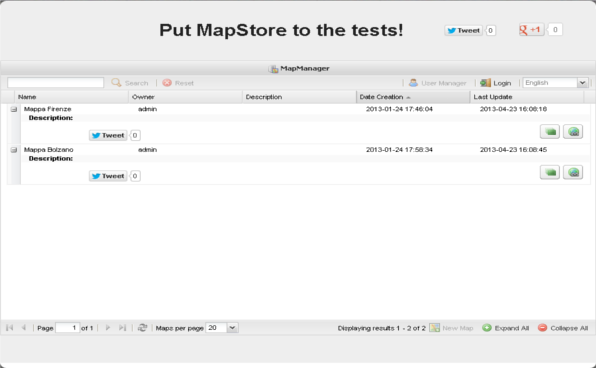
MapManager Overview.
Warning
In order to use MapStore with the MapManager, the GeoStore component is required as Map storage level. GeoStore provides also an authentication/authorization level that allows the MapManager to manage Users and Roles.
Open the MapManager.
Select your language througth the dropdown on top-right side of the main panel:
Click on the login button on top-right side of the main panel and enter admin as User and admin as Paswword:
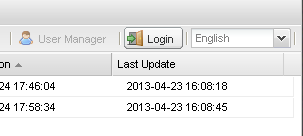
Login Button.
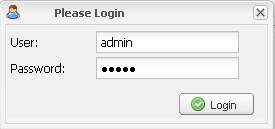
Login Form.
After the login the MapManager functionalities will be enabled, so you can manage maps:
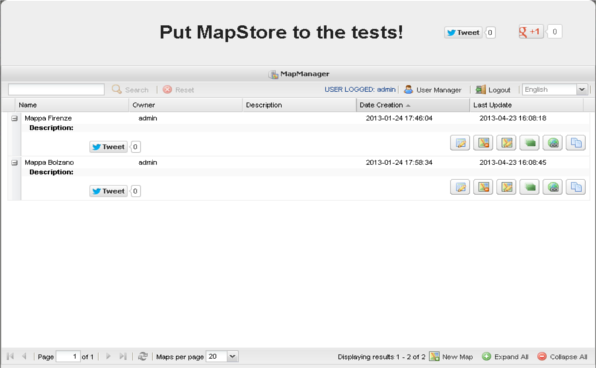
MapManager after the Login.
Note
MapManager enabled functionalities depends by the Role of the User logged. According to the current policies of MapStore:
- The Admin can do everithing on all maps
- The User can edit his maps and only view the maps of the other users
Search your Map using the Search tool on the top-left side of the panel. Enter Counties in the text field:

Search Tool.
Note
The search is case insensitive and is performed on the Map name. The User can enter a partial string.
Clicking on the ‘+’ icon beside the Row, expand the Grid row in order to show the available operations on this Map:

Availables funtionalities on selected Map.
The available operation for the Admin user are :
Facebook Share: The user can share existing map on Facebook.
Twitter Share: The user can share existing map on Twitter.
Edit Info: Allows to edit Map metadata
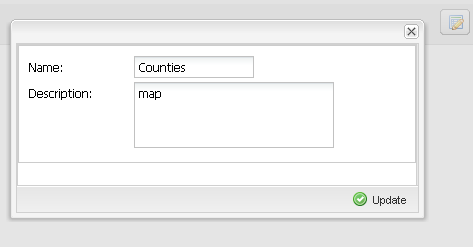
Metadata Edit
Delete Map: Allows the user to delete the selected Map from teh database. A message box appeasr in order to confirm the operation.
Edit Map: Open the Map in Edit mode. So you can modify his configuration for exaple adding new layers, WMS sources, modifying the extent and more.
View Map: Open the Map in View mode. In this case the User can only navigate the Map, add new layers and WMS sources but without saving.
Embed Map: A dialog allows the User to configure an HTML iframe component providing a way to publish the existing Map in his in a web site.
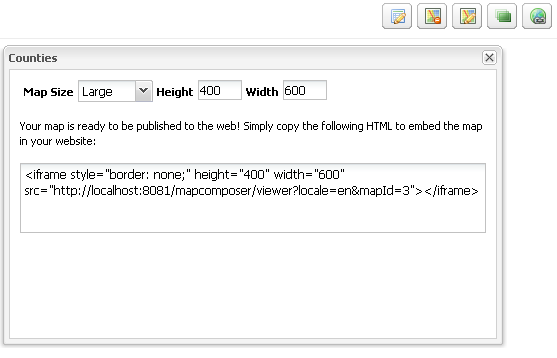
Embed Map
Clone Map: Makes a copy of the existing Map in the database. A new row appears inside the grid in order to show the new created Map (the copy).
Click on the Reset button placed beside the Search tool (on the right).
The Map’s list is paginated. So the User can navigate Maps changing the current page and choosing how many Maps per page. By default the User can navigate 20 Maps per page but he can chose between: 10, 20, 50, 100.
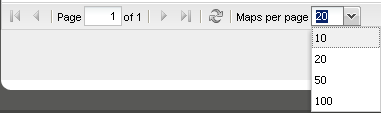
Paging Toolbar
Note
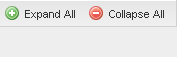
The rows in the list can be all expanded or collapsed using specific controls in the bottom-left side of the MapManager panel (Paging Toolbar):
Create a new empty Map from the MapManager clicking on the New Map button placed on the Paging Toolbar:
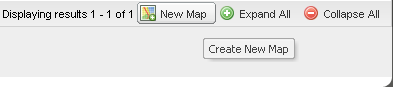
New Map
A new Window will be open in Edit mode with an empty Google background. Now the User is able to create his Map.
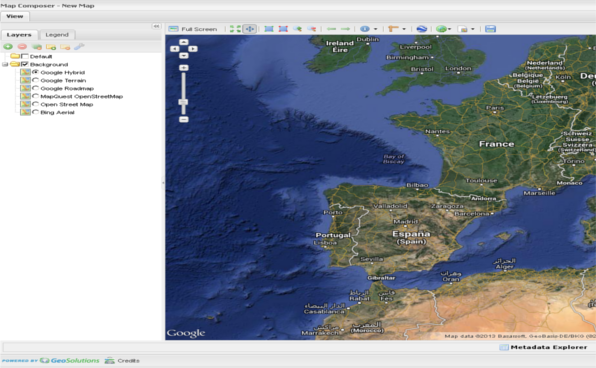
An Emptry Map
Click on the Save button on the Map Toolbar in order to save the Map. Specify the Map Metadata, enter training-map as Name and what do you want as Description (for example This is the Map of the Training).
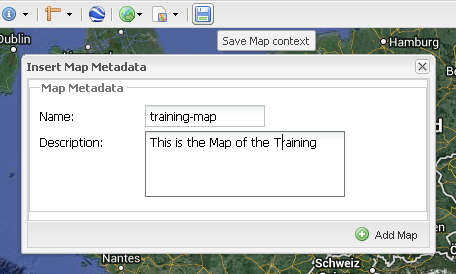
Save the empty Map from the Map Composer
Click on Add Map in order to Save. Then close the Map Window clicking on the ‘X’ button on the right corner. The newly created map will be showed in the Map’s list.

The updated grid.
Note
Next sections will you explain how to use the MapComposer functionalities.
The MapManager allows the Admin to manage Users. So the Admin can:
Click on the User Manager button besides the Login button in order to open tha User Manager dialog:
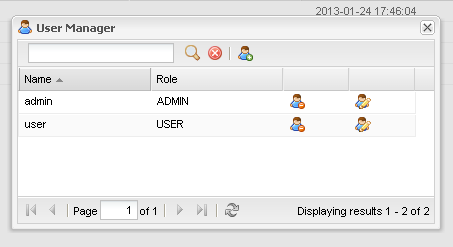
User Manager.
Modify the User named User clicking on the Edit icon in the User Grid row:
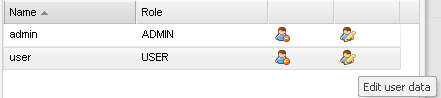
Open the Modify User Dialog.
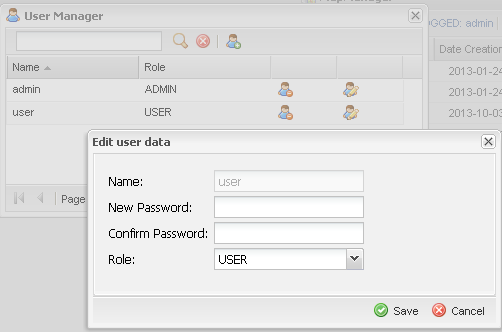
Modify the User.
Change the User password entering user as new password and then click Save.
Now click on Create new User button located in the main top Toolbar in order to create a new User:
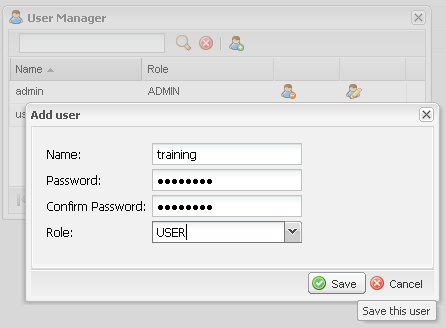
Create a new User.
Enter:
- Name: training
- Password: training
- Role: USER
Then click Save and the newly created User will be shown on the Grid:
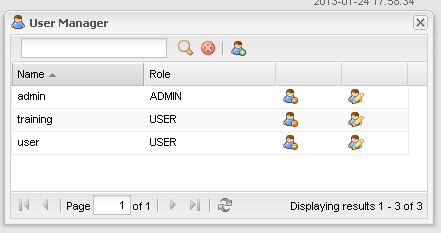
The updated User List.
Close the MapManager and login as the new User training. After this, expand the training-map Row. As you can see, with this User, is not possible to modify or delete this Map.

The training-map row in the grid with the newly User.
Logout as training User and still log in as Admin.