This page provides a quickly guide in order to run the MapStore with all his components described in the MapStore Overview using the Windows Installer.
You can start using MapStore following the steps below:
If you don’t have Java installed, download and install a Java Development Kit (1.6 or later), and set an environment variable JAVA_HOME to the pathname of the directory into which you installed the JDK.
Download the MapStore standard (Windows installer).
Double-click the executable file “mapstore-latest.exe” to start the installation procedure.
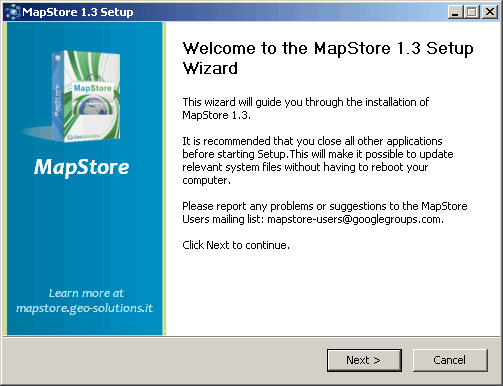
Welcome message. Click “Next” to continue.
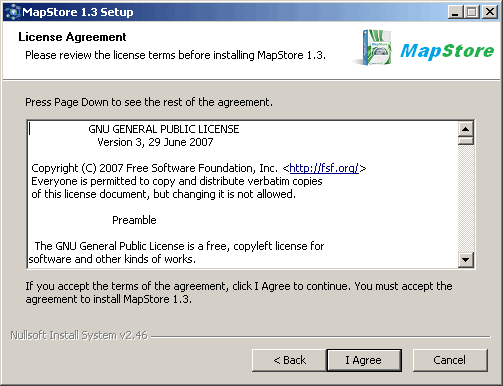
License Agreement. Click “I Agree” to continue.
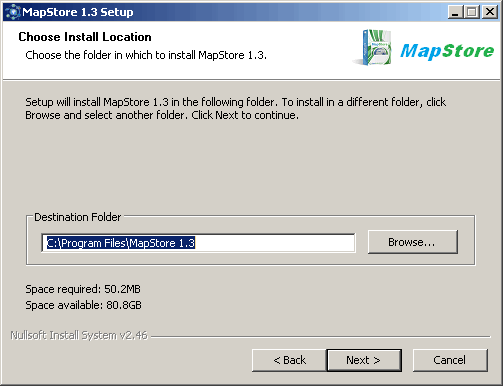
Choose Install Location. To install in a different folder, click Browse and select another folder. Click “Next” to continue.
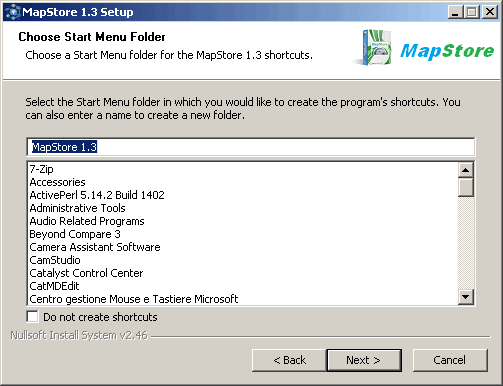
Choose Start Menu Folder. Choose a Start Menu folder for the MapStore 1.3 shortcuts.
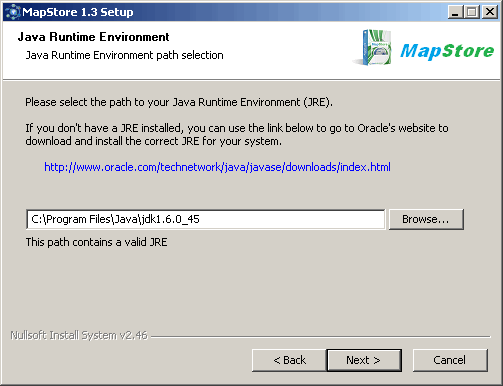
Java Runtime Environment. Select the path to your Java Runtime Environment. If you’ve done step one the installation process recognise your settings. Click “Next” to continue.
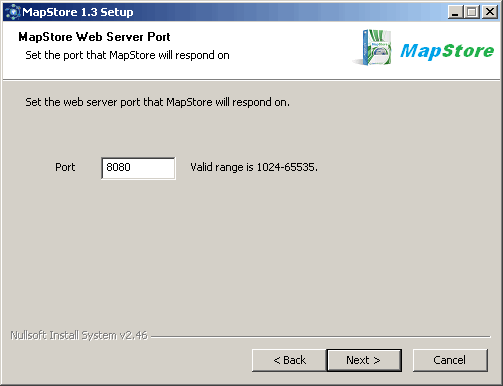
MapStore Web Server Port. Set the port that MapStore will respond on. By default will set to port 8080. Click “Next” to continue.
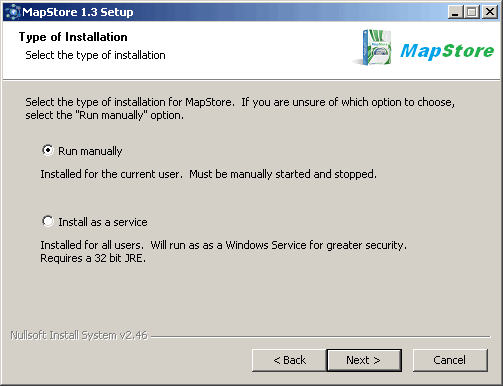
Type of Installation. Select the type of installation for MapStore. Now we choose “Run manually”. Click “Next” to continue.
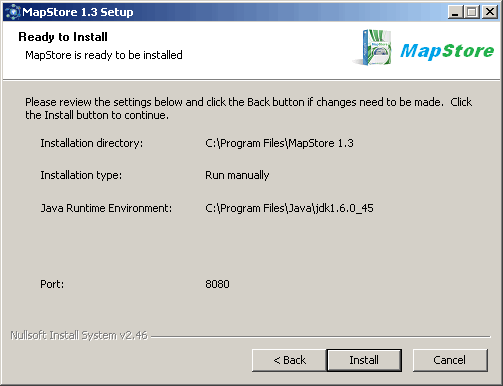
Ready to Install. Now MapStore is ready to be installed. All settings are listed. Click “Install” to continue.
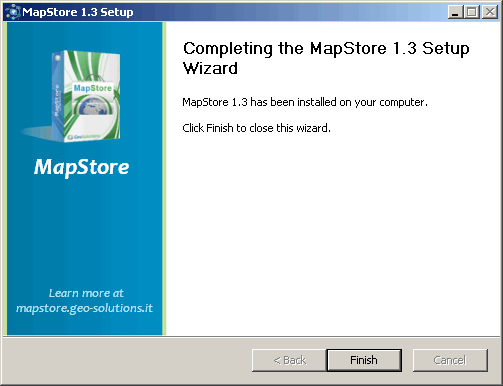
Install complete. The window appears indicating that the installation is successful. Click “Finish” to close the wizard.
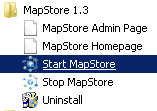
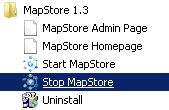
Start MapStore. Once the installation is complete, click on the Start button, and search MapStore 1.3 through the list of installed programs. Since we have chosen to start MapStore manually, we have to click Start MapStore. It opens a prompt to start the service. Wait until the startup process has completed (you should see the message Started SelectChannelConnector@0.0.0.0:8080 at the bottom of the startup windows).
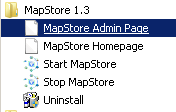
MapStore Admin Page. Now, clicking on MapStore Admin Page you can play with the demo by other looking at the preconfigured maps or by creating new maps.
MapStore Admin Page
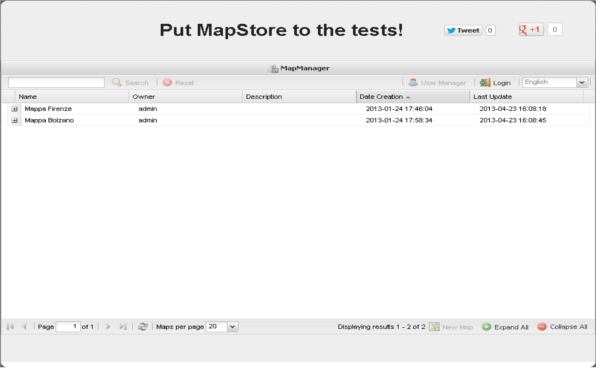
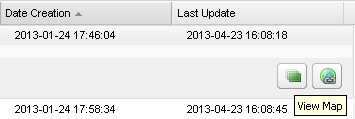
MapStore comes with a few preconfigured maps:
Clicking on the rows of Using the MapManager you can get access to the existing maps.
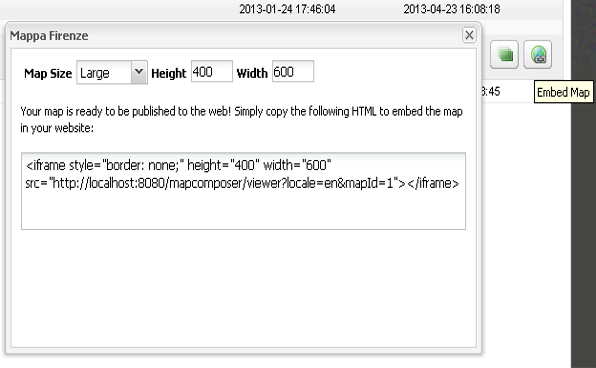
You can also get a unique link to embed them into existing sites.
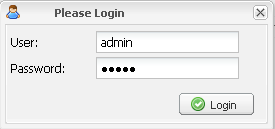
First of all, login to MapStore, clicking on the Login button and entering the following credentials:
username: admin
password: admin
You can now create new maps, modify the existing ones or manage the users. These functionalities will be illustrated in next sections.
Note
To create a new map click on the “New Map” button, a new window should open up where you can compose your map, choosing a background layer and adding more layers from the preconfigured services, your personal map server, or one of the free map servers available on the net. You can then click the “Save” button to give a name to your map and share it with the world.
Stop MapStore