This section illustrates how you can use the Print Plugin. The Print Plugin allows a user to create a nice and printer-friendly PDF of the current map and legend.
The MapStore Print Plugin needs some server side components deployed on GeoServer:
- The GeoServer Print Plugin based on MapFish Print
- YAML, a human friendly data serialization standard for all programming languages.
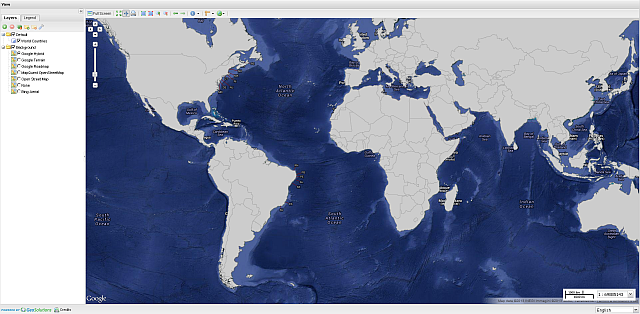
MapComposer with Print Plugin.
Note
This Print configuration provides a World Countries layer overlay and several base layers which will be used to generate several kind of reports as examples.
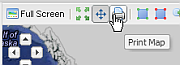
MapComposer Print button.
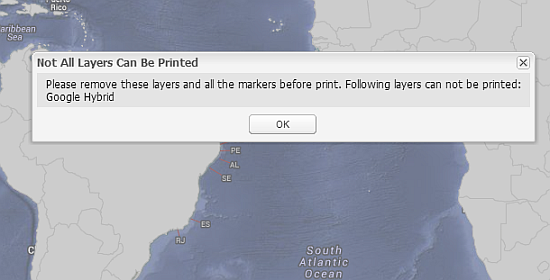
MapComposer Print button error.
Warning
The Google base maps cannot be printed with this Print Plugin due to licensing issues.
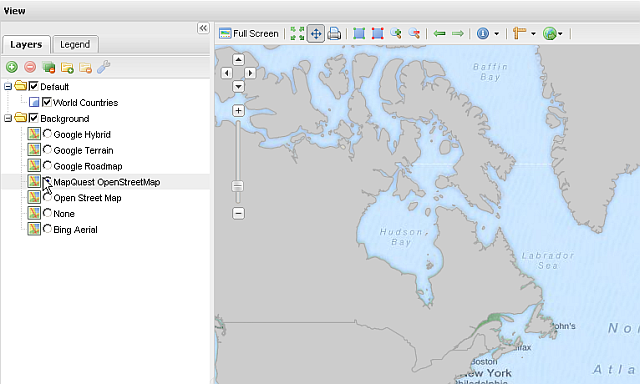
MapQuest OpenStreetMap background selected.
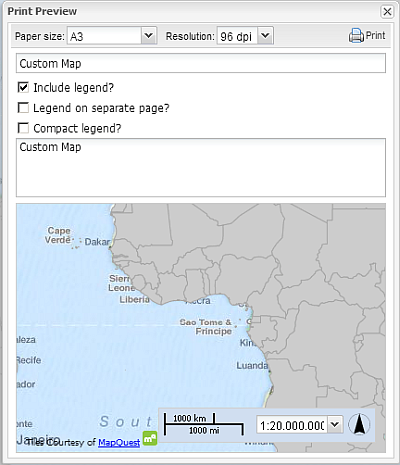
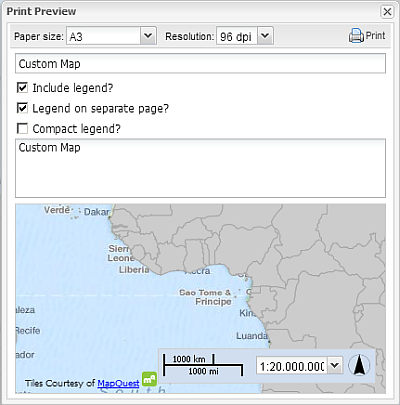
MapComposer Print Preview dialog window.
As you may notice the dialog window shows several options. It is possible to change the Paper size, the DPI Resolution.
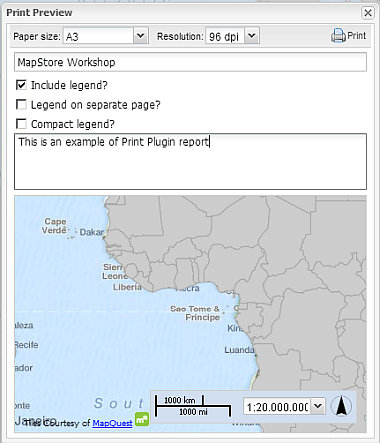
Try few examples:
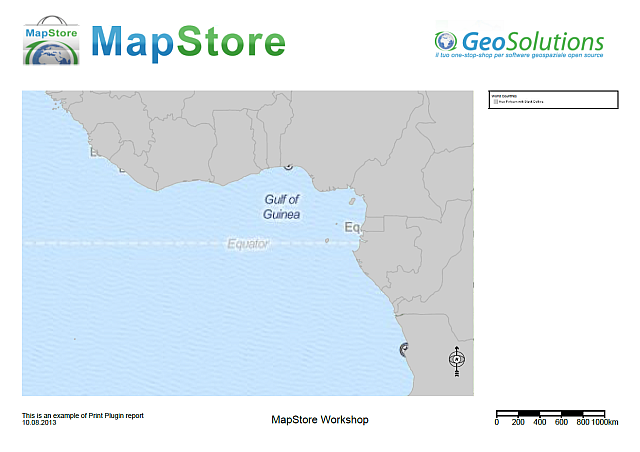
Change the Title of the map to MapStore Workshop and the Abstract to This is an example of Print Plugin report as depicted below
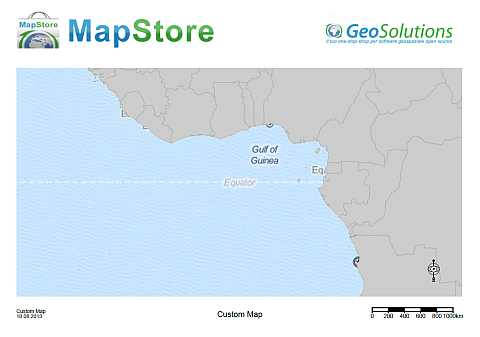
Click on the Print button of the Preview Window dialog; you should be able to get a PDF similar to the one depicted below
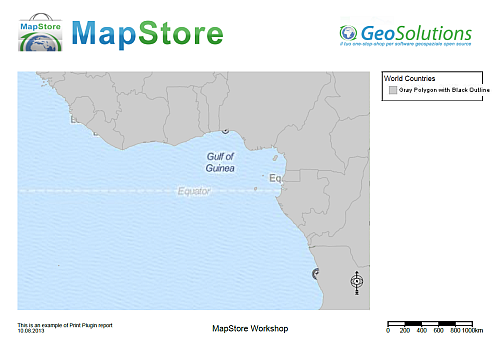
As you can see in the previows example, the text of the legend is bigger than the available width. In order to avoid this, repeat the previows steps by enabling the Compact legend checkbox
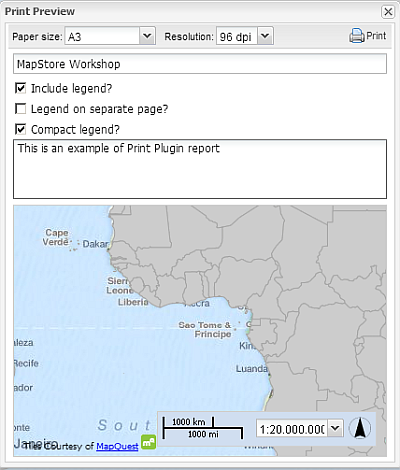
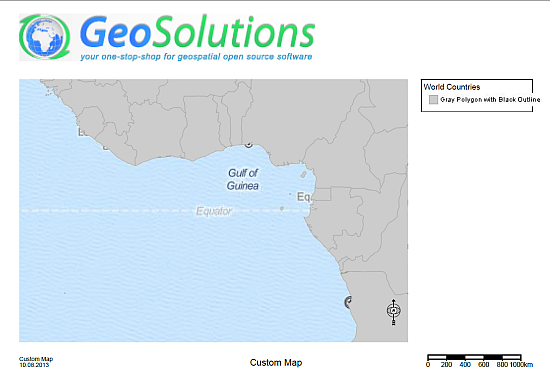
Compact Legend checkbox.
Compact Legend example.
Note
Notice how the legend width is now adapted to the column.
Legend on a separate page checkbox.

Legend on a separate page example.
Warning
The available layouts are not hardcoded on MapStore or fixed. They depend exclusively from the YAML config of the GeoServer Print Plugin, which is explained a bit deepter in the next section.
As stated before, the Print Plugin relies into a YAML configuration file.
YAML (rhymes with “camel”) is a human-friendly, cross language, Unicode based data serialization language designed around the common native data types of agile programming languages. It is broadly useful for programming needs ranging from configuration files to Internet messaging to object persistence to data auditing. Together with the Unicode standard for characters, this specification provides all the information necessary to understand YAML Version 1.2 and to create programs that process YAML information.
The Print Plugin configuration file is located into the folder
$TRAINING_ROOT/geoserver_data/printing/config.yaml
Note
Every time this file is modified, you have to refresh the MapStore browser page. MapStore reads the GeoServer Printing plugin configuration at startup, and therefore the internal MapStore Print module is initialized accordingly to the config.yaml.
Warning
You do not need to restart GeoServer nor any Tomcat instance, but just refresh the browser page.
References
- Open the $TRAINING_ROOT/geoserver_data/printing/config.yaml and try to update the DPIs and Scales
- Refresh the MapStore browser and see how the values have been updated on the Print Preview window too
- Open the $TRAINING_ROOT/geoserver_data/printing/config.yaml and try to update the A4 image maxWidth and url as follows:
- Refresh the MapStore browser and try to print an A4 report.
- Open the $TRAINING_ROOT/geoserver_data/printing/config.yaml and try to play with the several formats elements and dimensions.
- Refresh the MapStore browser and try to print the report in order to see how they change accordingly.